Web Scraping Store Locator Can Help You:
- Obtain the locations of your competitors to determine where you should expand your firm.
- Obtain the locations of businesses which you can promote or sell.
- Obtain the contact information for all of the major businesses in your area.
Step 1: Download A Web Scraper
If you’re already spending hours of your time copying and pasting names, phone numbers, and store hours from such maps through your own database, it’s time you learned about the potential of web scraping.
LocationsCloud is a powerful and completely free web scraping tool that we will utilize in this tutorial.
Here’s where you can get LocationsCloud for free.
Today, you’ll learn how to automate this time-consuming operation with a LocationsCloud data extraction project – all without writing a single line of code.
Step 2: Initiate Your Web Scraping Project
- Determine that you have downloaded and installed LocationsCloud from the aforementioned website.
- Open the LocationsCloud app and navigate to your preferred retail store’s website. We’ll utilize the Costco Store Locator in this example.
- To create your web scraping project, go to the website and click “New Project” and “Start project on this URL.”
Step 3: Searching For The Location
- You’re able to add the instructions to your first template now that you’ve established your web scraping project. While some templates are used to extract data from a page, this one will be performed to discover that data. To select this with the Select function, click the “Find a Warehouse” button.
- By selecting on the command, change your selection from selection1 to warehouse button.
- If you were searching in a standard browser, you’d pause over this icon without pressing to bring up a popup window. Fortunately, you can order LocationsCloud to stay in the same way! To the right of the command “Select and Extract warehouse button,” you’ll find a “plus” button. To access the command menu, click on it.
- To access the remaining commands, select “Advanced.”
- To add the Hover command to your template, select it from the list. A new pop-up window will appear.
- By clicking the “+” button beside the command “Select page,” you can add another Select command.
- When you click the “City, State, or Zip” search bar, an Input command is instantly inserted.
- Fill in the missing with your location. We’ll take San Francisco as an example.
- Rename your search bar selection.
- You’ll want to make sure the pop-up window shows when LocationsCloud hovers over it when you run your project. To do so, go to the “Select search bar” command and tick the option for “Wait up to 60 seconds for elements to show,” then modify 60 to 2.
- To add another, select command, click the “+” button once more.
- To pick it, click the “Find a Warehouse” option. It’ll be called search button.
- To add a Click command to the menu, click the “+” button next to the “Select and Extract search button” command.
- This button will transport you to a new page when you click it. As a result, we’d like to make a new template. It’ll be called search results.
Step 4: Fetch Data For Store Locations
- You’ll be directed to a map showing the ten nearest sites. Select the first two options from the drop-down menu beneath the map. This will select all ten of them and extract them.
- Change the name of the selection to “locations.” Because the website may take a long to search, choose the checkbox next to “Wait up to 2 seconds for elements to appear.”
- Next to “Begin new entry in locations,” click the + button.
- From the command menu, add a Relative Select command.
- Click on one of the names, then on the address that appears below it. All of the addresses will be selected and extracted using this method. The selected address should be renamed.
- Click the “+” button next to the “Begin new entry in locations” command to add a second Relative Select instruction. Click on the name of one location, then the city and zip code below it to choose all of the cities and zip codes.
- Create a second Relative Choose and select the phone numbers in the same manner.
Step 5: Scrape Additional Store Details Using Page Navigation
- When you click on the name of a store, you’ll be sent to its extra details page, where you’ll find the store’s hours and a list of departments.
- Open the Advanced menu and add a Click command by clicking on the “+” beneath the “Begin new entry in locations” command. You’re instructing LocationsCloud to click on each of the places by nesting this command within the Begin New Entry command!
- With each click, you’ll be taken to a new page, so make a new template and name it details.
- You’ll be taken to the first page of the list’s details. We will start by selecting the store hours, which are divided into three lines. I don’t want them to have their own row in the CSV, so we will pick them all at once by zooming out on my computer and pressing “ctrl” (or “cmd”) and “1.”
- We will click on one from each of the columns to choose all of the department names. This chooses and extracts them into individual rows in the CSV by highlighting them all.
Step 6: Download Data Into CSV Or JSON File
You can execute the project once and gather your information from the app, schedule it to run and download data using email, or Locations cloud API options to control the project using script.
In the Locations cloud sidebar, click the huge green “Get Data” button.
Wait for the extraction to finish by clicking “Run” and “Save and Run.”
Download both the CSV and JSON files. When we log in to account, the results are also emailed to my email address and can be found on any computer using Locations cloud Desktop program.
This project can be altered in a variety of ways. Here are a few examples:
- Instead of simply 10 locations, just use menu bar on the search results page to acquire information from 20.
- More information is available on the details page, including includes department phone numbers and timings.
- Only use regular expressions to extract the hours from Monday through Friday, ignoring the hours from Saturday and Sunday.
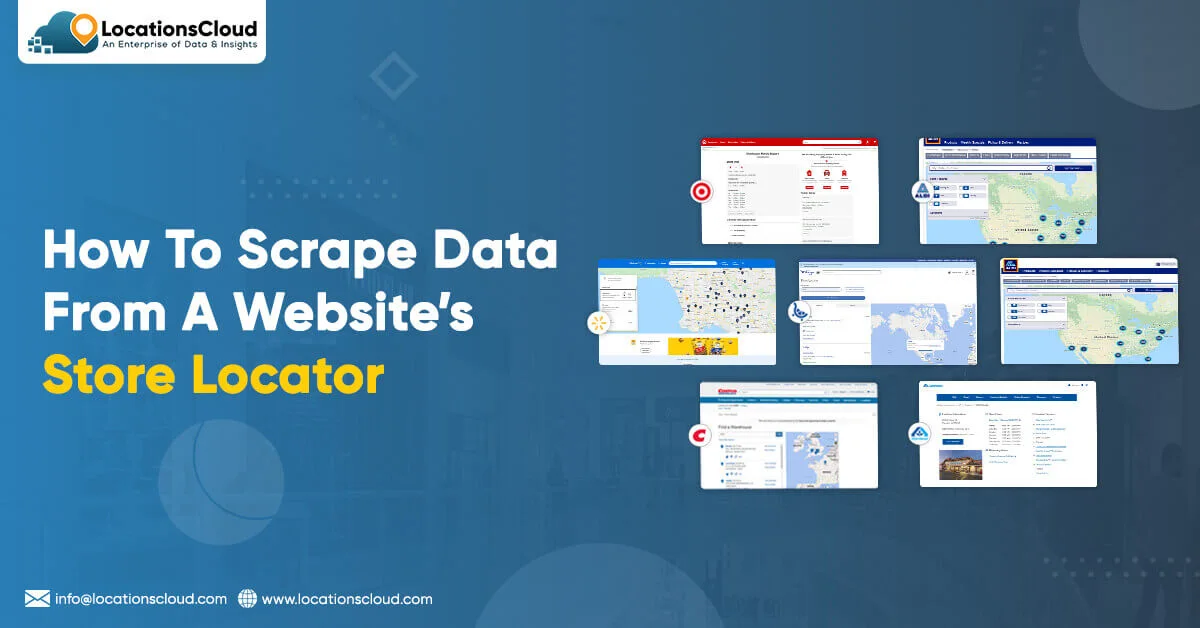
- This isn’t confined to the Costco website, of course. Almost every major shop has a store locator that looks similar to this one.
Call our experts at LocationsCloud for any queries or request for a quote!!